"Low water pressure" is a symptom with about six unrelated causes, ranging from a five-minute fix to a whole-house repipe. Which is why guessing is expensive and testing is not.
Here is the sequence, cheapest first. Most people find their answer in the first two steps.
Step 1: One fixture or all of them?
This single question eliminates most of the possibilities.
If one fixture is weak and the rest are fine, the problem is at that fixture — almost always a scaled aerator or showerhead, occasionally a partially closed shutoff or a clogged cartridge screen. Unscrew the aerator and soak it in vinegar overnight. The improvement is frequently dramatic and it costs nothing.
If every fixture is weak, keep going.
Step 2: Measure it
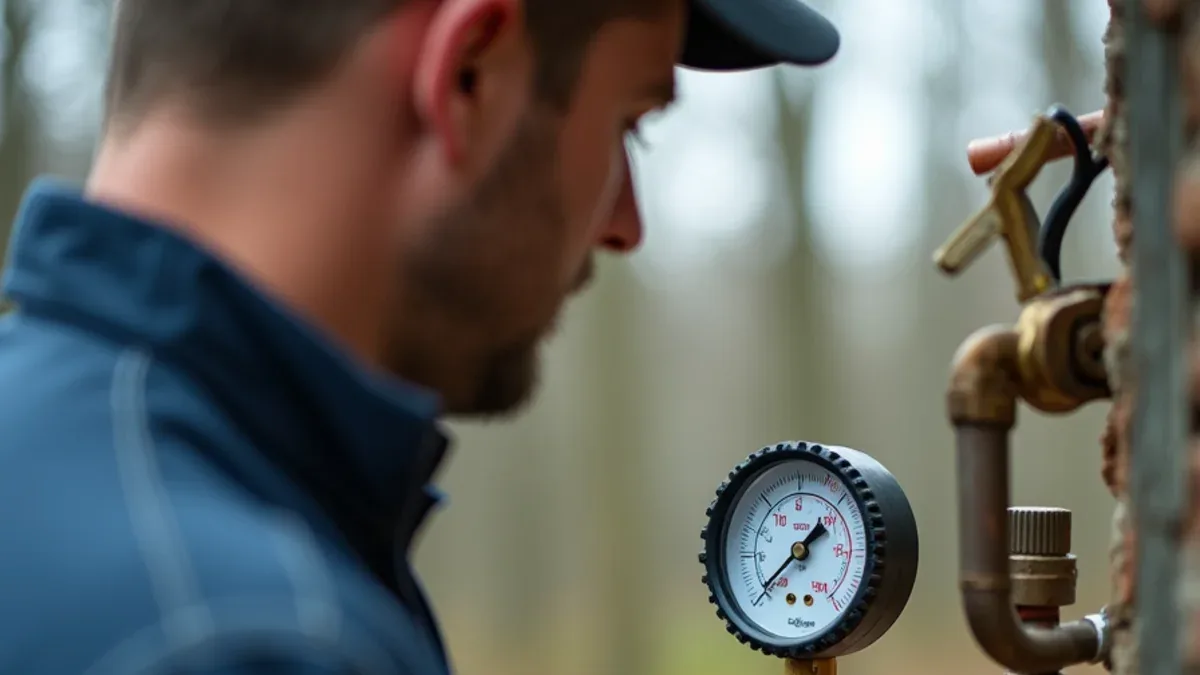
A pressure gauge that screws onto a hose bib costs very little and it turns guesswork into a number.
Take a static reading with nothing running. Somewhere in the range of 45 to 70 psi suits most homes. Below about 40 psi fixtures feel weak. Above about 80 psi you have the opposite problem, which we will come back to.
Then take a flowing reading with a couple of fixtures open. A large drop between static and flowing means the problem is volume rather than pressure — a restriction somewhere — and that distinction matters enormously.
Step 3: The main valve
Check that your main shutoff is fully open. It sounds trivial and it is a genuinely common finding — a valve left three-quarters closed after previous work, quietly throttling the whole house for years.
While you are there, check that it actually turns. A seized main valve discovered during an emergency is a bad afternoon.
Step 4: Pressure-reducing valve
Many homes have a PRV where the service line enters, usually a bell-shaped brass fitting. They fail with age, and they typically fail by drifting low.
If your static pressure reads well below normal and there is a PRV in the line, that is the likely culprit. Replacing one is a modest job. Details on our water pressure page.
Step 5: Is something leaking?
A leak bleeds pressure off continuously. Shut off every fixture and appliance, then watch the low-flow indicator on your water meter. If it is turning, water is escaping somewhere.
Close the main valve at the house and check again — still moving means the leak is in the buried service line, stopped means it is inside. Our article on why your water bill is so high walks through the full method.
Step 6: The pipe itself
If nothing above explains it and the decline has been gradual over years, the pipe is the answer.
Galvanized steel supply lines corrode closed from the inside. The interior diameter shrinks year after year until the far fixtures are a trickle, and it happens so slowly that occupants adjust without noticing.
The important nuance: replacing one section of an all-galvanized house just moves the restriction downstream. That is why partial repairs disappoint, and why we map the whole system before recommending anything. Our repiping page covers when replacement stops being avoidable.
Reading the symptom
| What you are seeing | Most likely cause | How it gets confirmed |
|---|---|---|
| One fixture, everything else fine | Blocked aerator or cartridge at that fixture | Unscrew the aerator and look — it is usually visible |
| Whole house, dropped suddenly | A partly closed valve, a failed PRV, or a supply-side break | Gauge on a hose bib, then check the main and the meter |
| Whole house, declined over years | Supply pipe corroding closed from the inside | Pressure and flow tested together — pressure alone hides it |
| Hot side only | Sediment or a failing dip tube in the water heater | Compare hot and cold flow at the same fixture |
| Drops hard when a second tap opens | Undersized or restricted supply line rather than low pressure | Static and running pressure measured back to back |
| Fine in the morning, poor in the evening | Peak demand on the utility side, or a well recovering slowly | Readings taken at both times, then compared |
On a well? Different list
Well systems have their own causes: a pressure switch set low or with burned contacts, a waterlogged pressure tank, a failing pump, or a dropping water level in a dry season.
The pressure tank is the one to check first, and it is the one that quietly destroys pumps. Our well pump page has the diagnostic sequence.
The opposite problem
If your gauge read above 80 psi, that is worth acting on. Sustained high pressure stresses every joint, fitting and appliance valve continuously — it shortens water heater life, causes banging pipes, and makes toilet fill valves and washing machine hoses fail early.
A pressure-reducing valve is inexpensive relative to what it prevents. It needs a thermal expansion tank fitted alongside it, because a PRV creates a closed system and heated water has to have somewhere to expand.
Frequently asked
Somewhere between about 45 and 70 psi suits most homes. Below 40 psi fixtures feel weak; above 80 psi you are actively shortening the life of everything in the system. A gauge that screws onto a hose bib costs very little and tells you where you stand in two minutes.
Almost always a scaled showerhead or a clogged cartridge screen, which is extremely common with the mineral content in area water. Soak the head in vinegar — it costs nothing and fixes most cases. If a clean head does not resolve it, check the fixture shutoff and then the cartridge.
It fixes volume problems, not pressure problems. If pressure is adequate with one tap running and collapses when a second opens, the issue is volume and a larger supply line genuinely helps. If pressure is low even with a single fixture running, the cause is elsewhere and a bigger line changes nothing.
Need someone to actually look at it?
We are a licensed plumber and septic technician based in Ooltewah, serving Hamilton, Bradley and the surrounding counties. Free estimates on every job, and an honest answer about whether you need the work at all.